A code can be perfectly configured in the printer and still land on the wrong product, drift from its target position or become unreadable after contact with downstream equipment. By matching product travel, triggering, print distance, inspection and rejection, you can determine whether a conveyor will produce reliable marks rather than merely move packages past a printhead.
Key takeaways
- Use encoder feedback to trigger printing from measured product travel.
- Set the print point after confirming product spacing, speed and surface orientation.
- Match inkjet, laser or thermal transfer to the package material and production rate.
- Record code checks, changeover settings and maintenance actions for traceability.
How product travel determines where a code lands
Code position follows the product’s actual travel, not the conveyor motor’s commanded speed. Belt slip, gearbox backlash, VFD variation and product drag can change conveyor speed, so a timer-based print trigger drifts along the package. Encoder feedback from the conveyor shaft or a measuring wheel lets the controller fire according to measured movement.
Accuracy depends on:
- The distance between the registration sensor and printhead, plus sensor latency and printhead firing delay. Measure and configure these values; do not treat them as negligible.
- Product spacing tolerance. Singulate products with side guides and a defined orientation so items do not touch, overlap, rotate or cross the sensor together.
- Print-zone stability. Belt splice impacts, worn sprockets, unsupported transfers and moving guides create vibration that produces banding, double images and changing code locations.
Set the printhead gap for the package that actually enters production. Different heights, curved surfaces and inconsistent orientation change the ink-flight distance and can blur or shift characters. A narrow, stable gap gives more consistent placement.
Test across the full operating range. Record position error, pitch variation, missed or duplicated triggers, readability after drying or curing, and reject traceability during starts, stops and accumulation. Track each reject from its registered encoder position, not from a fixed timer, because line speed changes the delay between printing, inspection and rejection.
How to set the print point and eliminate common defects
Set the print point from actual product travel, not the conveyor motor’s commanded speed. Measure sensor latency, print-head firing delay, encoder resolution, and the distance between the registration sensor and printhead, then enter those values in the printer controller.
1. Track the belt before positioning any sensor. Correct belt wander, tension and slip; an unstable belt changes product position and can stretch characters when encoder scaling is wrong.
2. Fit guide rails to keep each pack straight without squeezing it. Set the photocell placement where one clear leading edge passes every time, and adjust spacing so touching, rotating or overlapping products cannot create duplicate or missing triggers.
3. Set the print-head distance with the tallest and shortest packages. A pouch that sags on coarse wire mesh, or a curved bottle that changes height, needs support or a different mounting angle; excessive gap blurs edges and shifts placement.
4. Mark the intended print point on test products and verify the encoder scale across minimum, normal and maximum line speeds. Correct a stretched code through travel calibration, not by changing character width.
5. Confirm reject timing from the photocell or encoder reference, including stops, starts and accumulation. Print test codes through the full run, then inspect them after the required ink-drying or curing interval; insufficient residence time causes rubbing and offsetting.
Check that every code clears seams, label edges and folds. A missed product, double trigger, blurred code or duplicated mark identifies a setup fault before production releases product.
How to choose the right conveyor and marking method
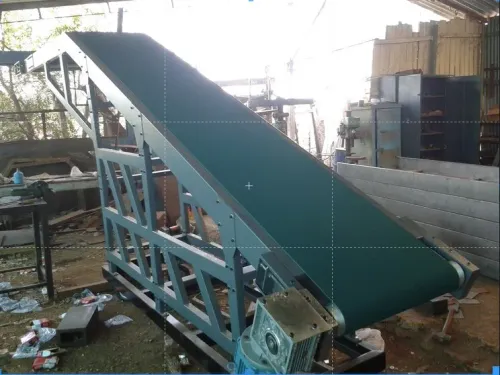
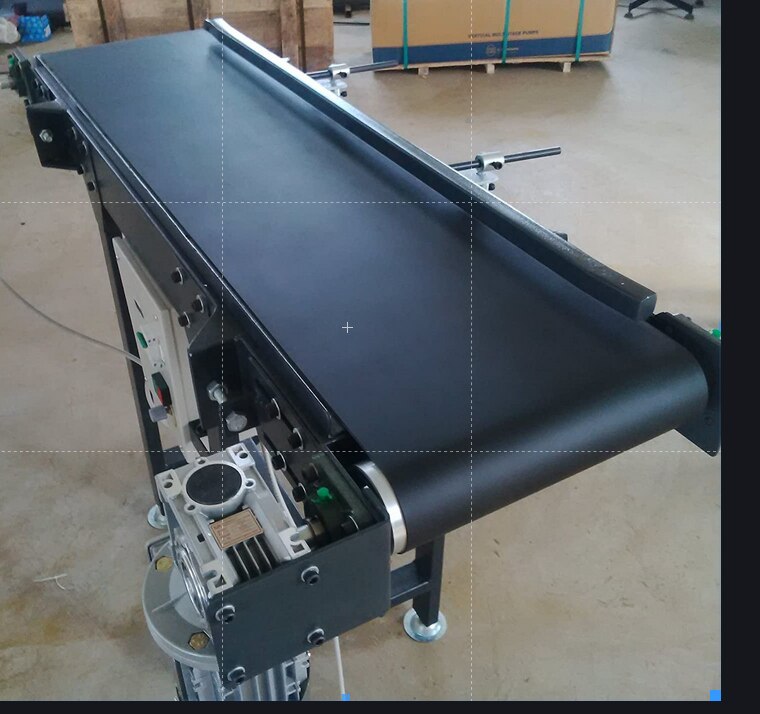
Choose the conveyor and marker as one system: package shape, surface, line speed, environment and inspection method determine the workable combination. A dedicated printing conveyor needs controlled spacing, side guides and low vibration; an encoder or measuring wheel must track actual product travel rather than motor speed.
| Option | Best fit | Watch for |
|---|---|---|
| Flat-belt conveyor with inkjet | Cartons, pouches and bottles needing non-contact coding | Belt slip, product rotation and changing print distance |
| Tabletop conveyor with thermal-transfer or hot-stamp | Packs with a flat, restrained print surface | Uneven packages, insufficient contact pressure and rubbing before the mark sets |
| Star-wheel system with inkjet or laser | Small rigid containers requiring fixed pitch and orientation | Incompatible diameters, damaged pockets and difficult changeovers |
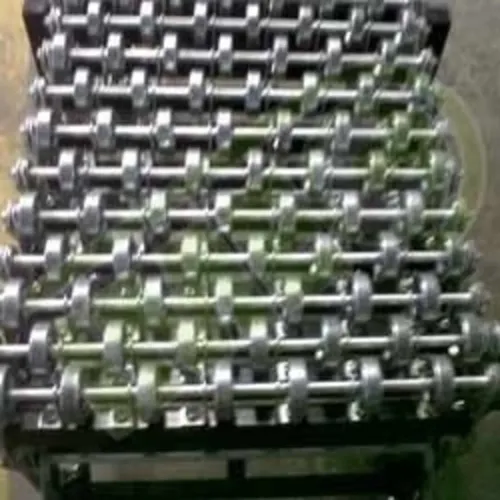
| Wire-mesh conveyor with inkjet or laser | Hot, wet or freshly washed products needing drainage, airflow or cooling | Large openings can let flexible packs sag and change height |
| Flat flight, nest or hold-down with thermal transfer | Flexible film or labels needing firm backing | Added parts, slower changeovers and limited package shapes |
Provide enough residence time for ink to dry, coating to cure or a hot-stamp impression to set before contact. Humidity, product temperature, airflow and formulation matter, so a printer’s firing-rate specification does not prove a code will survive stacking.
Integrated Conveyors And Pacline Automation Technologies can help you define belt width, guide positions, encoder mounting and print-zone length from actual package dimensions rather than catalogue speed. Specify the tallest and shortest packs, seam locations, surface curvature and inspection camera field of view before selecting the final layout.
Related products
 | CONVEYOR inkjet printer is only as good as the conveyor under it. If the product wobbles, your print looks cheap. That’s where most setups fail. View product → |
 | CONVEYOR The 1.2-meter Inkjet Printing Conveyor is a compact, high-precision solution designed for smooth and consistent product movement during batch coding... View product → |
How to connect, verify and document a coding line
Release product only after the printer, inspection devices and reject station have passed a documented acceptance test. A dark-pixel camera cannot replace a barcode verifier: the verifier evaluates decoding and symbol quality against a defined ISO/IEC method, lighting, aperture and grading threshold.
1. Load a controlled printer recipe containing the batch number, date format, character height and code content. Use PLC handshaking to confirm recipe selection, print-trigger receipt and printer-ready status; stop the line on a mismatch or missing acknowledgment.
2. Connect the trigger and reject logic to an encoder measuring actual product travel, not motor-command speed. Record the print-to-camera distance, inspection delay and reject timing from each product’s registered encoder position, because speed changes, slip and accumulation can shift the reject point.
3. Run empty starts, stops, speed changes and product accumulation. Confirm that the industrial vision inspection detects presence, position, missing digits and unreadable characters, while the barcode verifier grades every required 1D or 2D code after its specified drying or curing interval.
4. Challenge the line with correct, wrong, missing, blurred and deliberately unreadable codes. Confirm that each defect reaches the reject device, each good product remains on the release path, and no product passes without a traceable inspection result.
Record speed, pitch variation, code-position error, missed or duplicated triggers, reject identity, recipe version, test samples and operator approval. Retain these results with the batch record.
How to manage changeovers, maintenance and unsuitable applications
Accuracy survives changeovers only when the conveyor, product position and printer settings are checked together. Record the belt recipe for each product: belt speed, encoder scale, print-head gap, photocell position, guide-rail width, code offset and reject delay.
A motor’s commanded speed cannot correct belt slip, gearbox backlash or product drag; use an encoder or directly coupled measuring wheel for continuous-motion coding.
1. Measure changeover time during a dry run, then confirm belt tracking, belt tension and splice condition at production speed. Check that wire-mesh pitch, support-bed gaps and transfers do not create vibration or vertical runout beneath the print zone.
2. Print samples at minimum, nominal and maximum speed. Measure code position error, product-to-product pitch, missed and duplicated triggers, readability after drying or curing, and reject timing during starts, stops and accumulation.
3. Inspect the photocell lens, encoder wheel, printer nozzle or thermal-transfer head, guide rails and reject device each shift. Remove ink buildup, replace damaged belts or sprockets, and recalibrate the encoder after changing pulley diameter, belt type or drive components.
4. Document washdown requirements separately from the conveyor’s IP rating. Confirm detergent, sanitizer, lubricant and printer-component compatibility, then dry the print zone before testing adhesion and readability.
Reject the application when products wobble, vary greatly in height, present curved or wet printing surfaces, or cross seams and labels unpredictably. A hot, wet product belt is not automatically a stable surface for small-font inkjet or contact applicators.
Use a vision system for presence checks, but use an ISO/IEC barcode verifier when symbol quality determines release.
Frequently asked questions
Why does conveyor travel affect code position?
Belt slip, gearbox backlash, VFD variation and product drag change actual speed. Encoder feedback from a conveyor shaft or measuring wheel triggers printing from measured movement instead of a timer.
How do you eliminate common printing defects on a conveyor?
Set the print point using actual product travel, then control spacing, surface orientation, printhead distance and conveyor speed. Verify legibility on the moving package.
How do you choose a conveyor and marking method?
Compare belt or wire mesh construction, product stability, washdown exposure, speed and available space. Match inkjet, laser or thermal transfer to the package surface and required code.
What should you document when connecting a coding line?
Record the encoder setup, trigger position, code content, verification results, changeover settings and maintenance actions. Confirm the printer, conveyor controls and inspection device exchange the intended signals.
Related products
 | CONVEYOR The 1.3 Meter Inkjet Printing Conveyor is designed for smooth and accurate movement of products during batch coding, date printing, MRP printing,... View product → |
 | Conveyor Inkjet Printing Conveyor is specially designed to support accurate and stable product movement for inkjet coding and marking applications. View product → |
 | PRINTING INKJET PRINTING 1300MM L CONVEYOR The Inkjet Printing Conveyor is designed to provide stable, vibration-free movement of products for accurate date, batch, MRP, QR code, and barcode... View product → |